
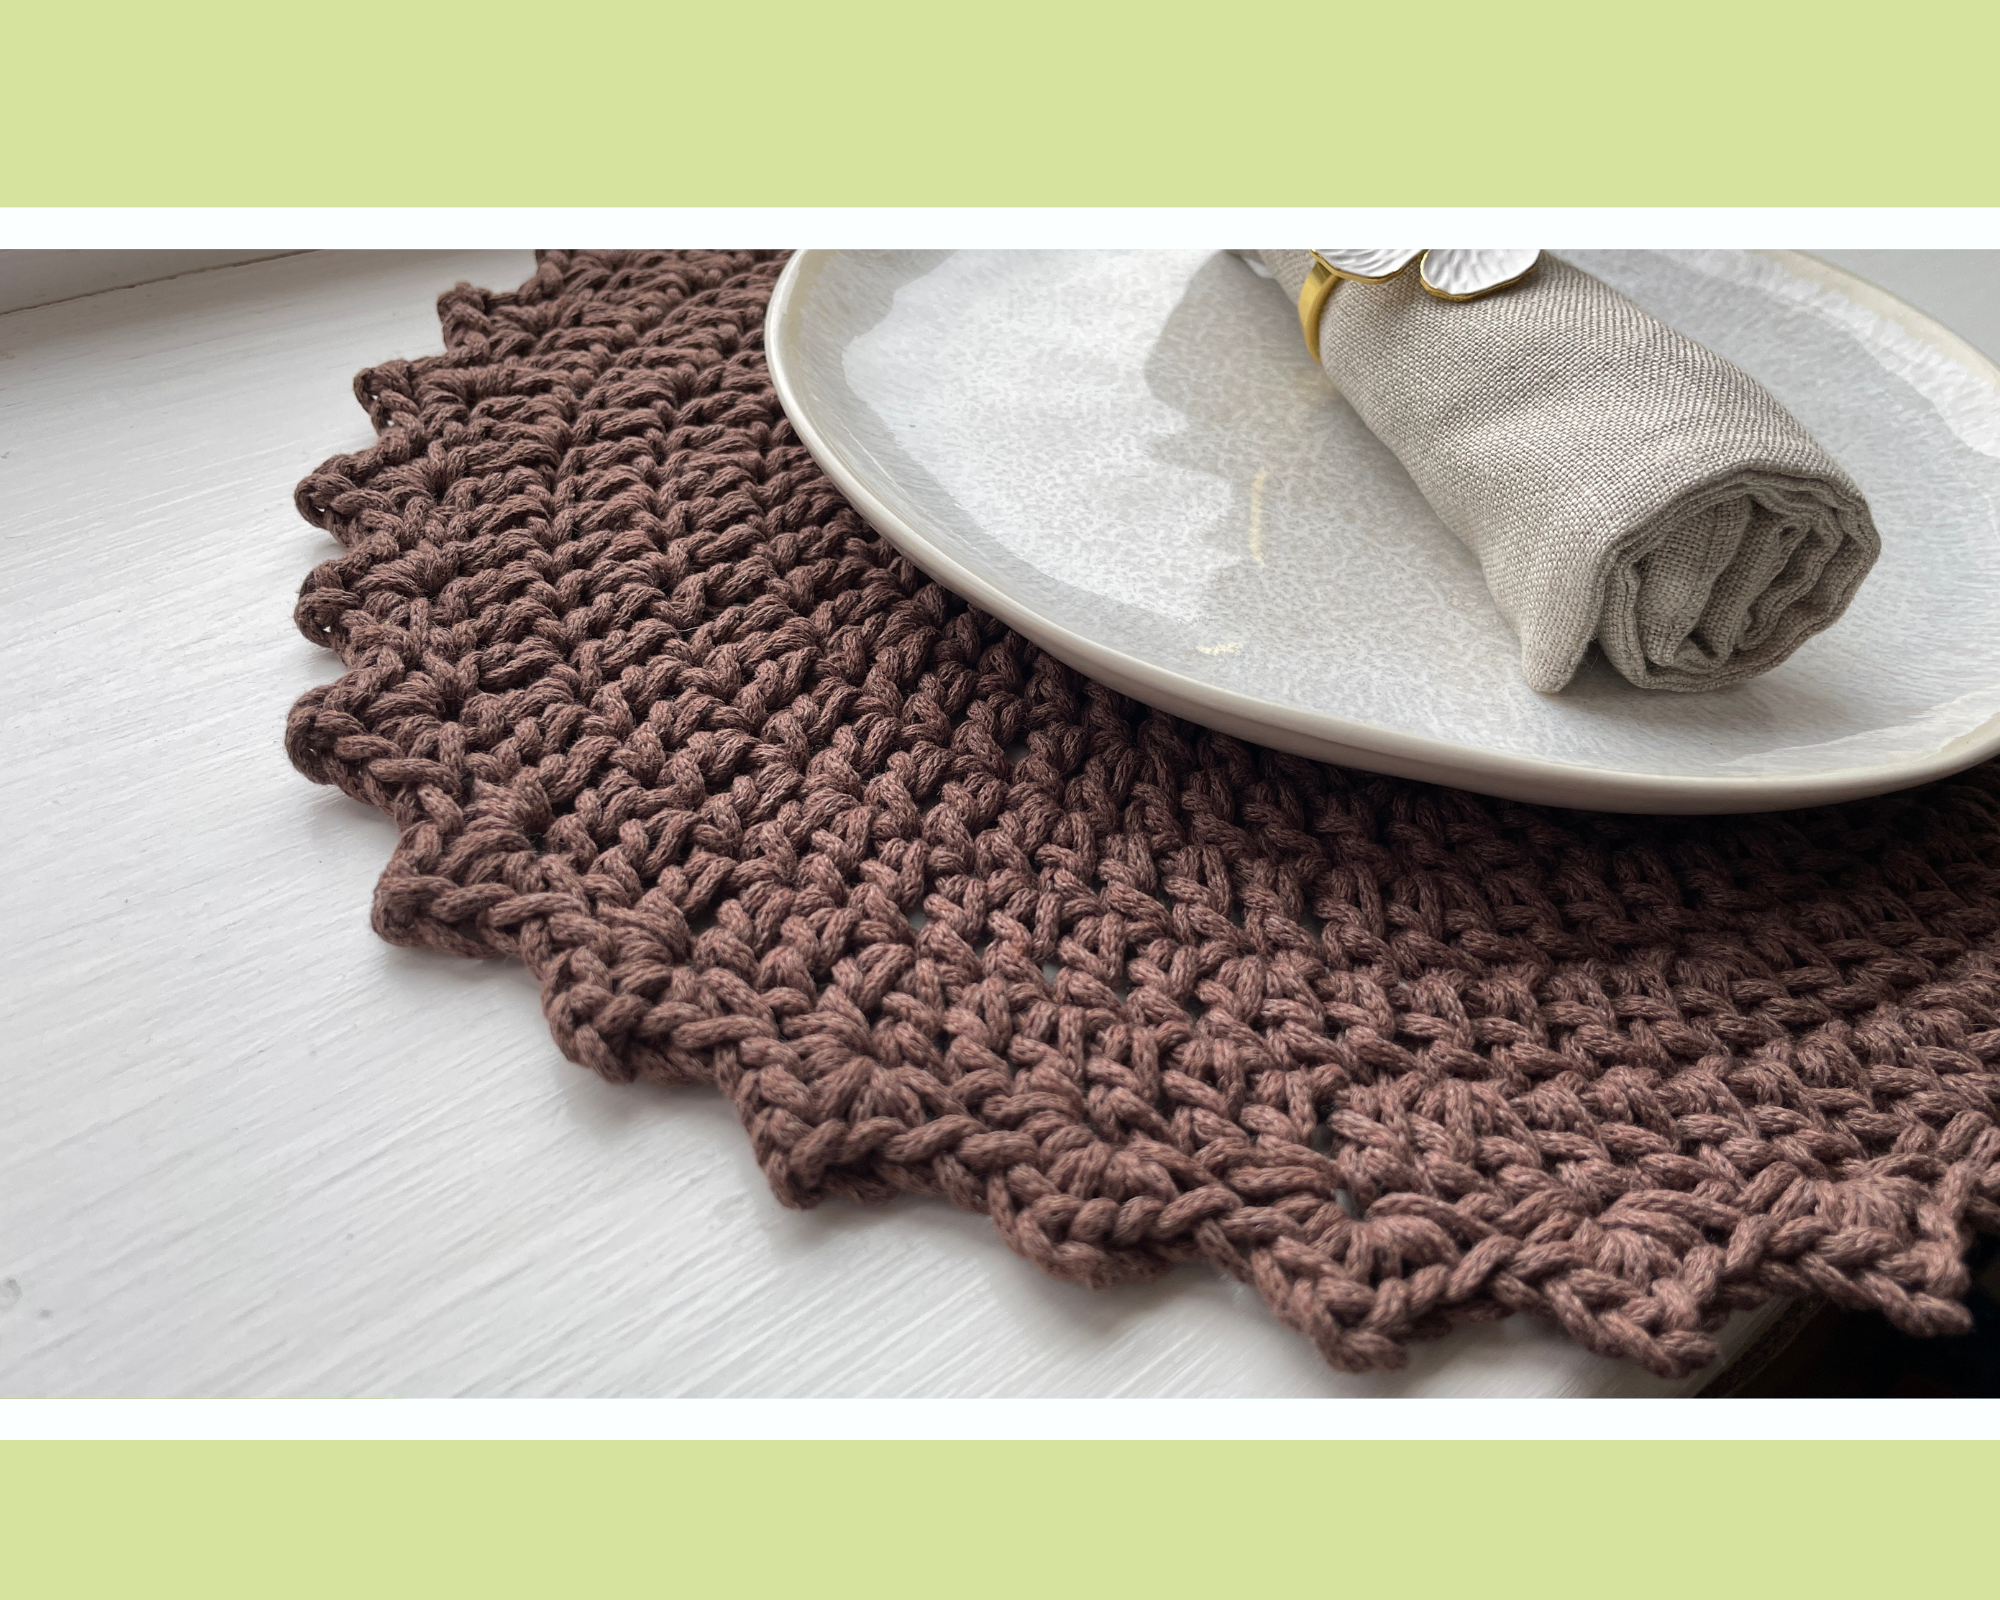
How to Crochet Round and Flat: The Easiest Placemat
Are you ready to learn how to make a perfectly round and flat project? Crocheting flat and round placemat is a fantastic way to personalize your home decor while perfecting your crafting skills. In this beginner-friendly guide, we’ll take you through the step-by-step process of creating beautiful placemats from start to finish.
By the end of this tutorial, you’ll be equipped with the knowledge and confidence to crochet your stylish placemats that will impress your guests and elevate your dining experience. So, let’s grab our hooks and yarn and prepare to embark on this creative journey together!
If you try to make it using this Crochet Sweater Pattern, please tag me on Instagram @lerugi.crochets or leave a reply here, all feedback is greatly appreciated.
PICK YARN
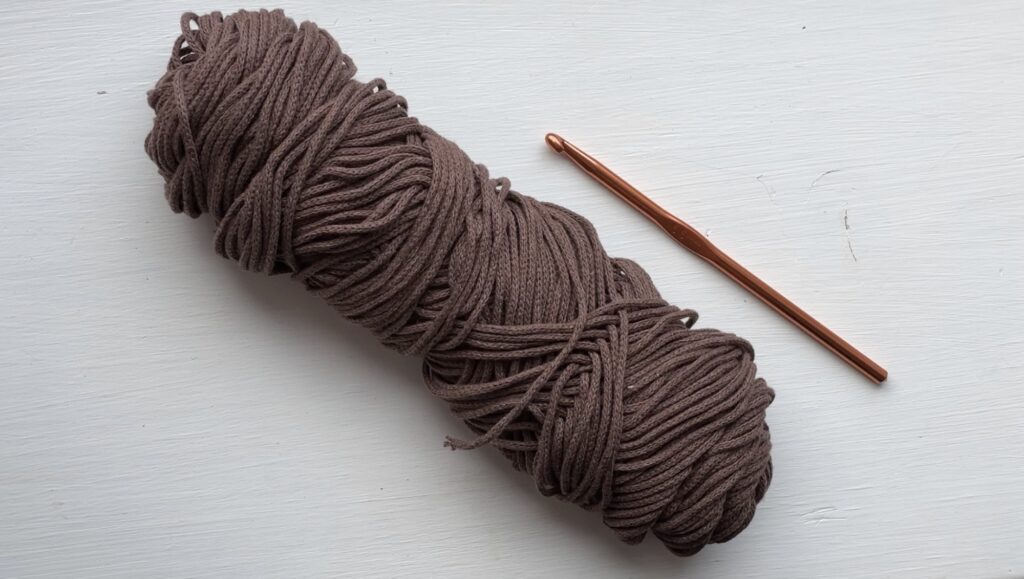
The yarn for crocheting placemats should be thicker and sturdier to maintain their shape. There are two options for this: cotton or polyester. Any cotton macramé cord works well for these home decor projects. For this particular project, a 2mm or 3mm thickness would be best. Cotton provides a matte finish and holds its shape well. On the other hand, working with polyester cord is much smoother and easier, but it is shinier and more slippery, so choose according to your preference. So for this placemat, I have chosen to work with YarnArt Macramé Cotton yarn. One skein contains 250 g (approximately 250 yards) and is sufficient to make two placemats with a diameter of 30 cm each.
PICK HOOK
Select your hook size based on the yarn you’re using. To crochet this placemat, I used a 5.5mm hook. On the other hand, if you’re unsure about which size to use, you can opt for the recommended size indicated on the yarn label or experiment by creating a small sample to assess the appearance and density.


ABBREVIATIONS
st – stitch
ch – chain
sl st – slip stitch
sc – single crochet
dc – double crochet
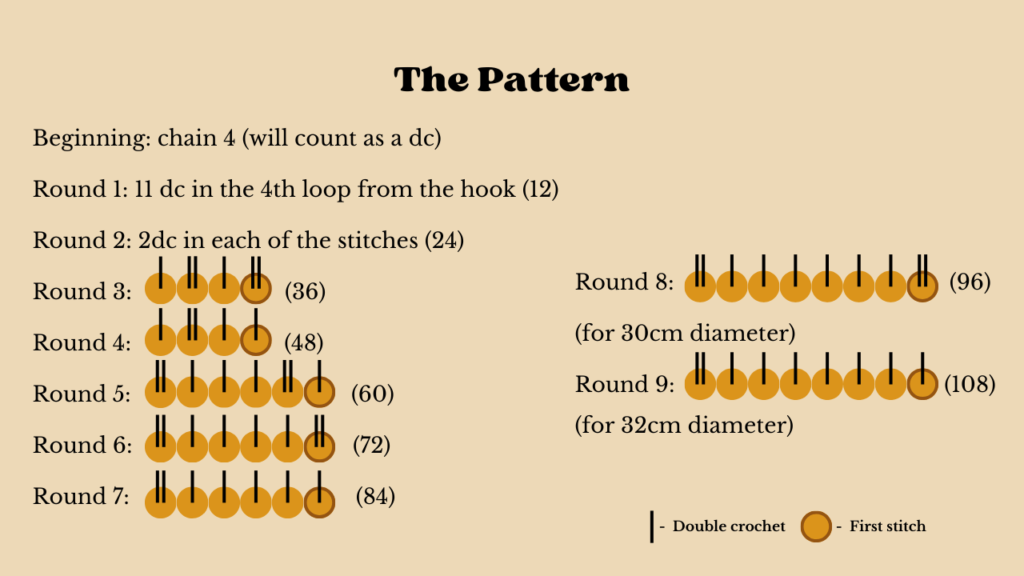
THE PATTERN OF ROUND PLACEMAT
In the first place for this project, we will be working in rounds and won’t be using Magic Ring for the beginning. The picture below shows you a visual pattern for this round placemat. It can be used for basically any circular project you will make in the future.
LET’S CROCHET THE PLACEMAT
Beginning of the circle: slip knot and chain 4.
Round 1: place 11 dc in the 4th loop from the hook (total of 12).
Round 2: ch 3, 2 dc in each stitch (24).
Round 3: ch 3, 2 dc in the first st, 1 dc in the next, 2 dc in the next, 1 dc… (36)
Round 4: ch 3, 1 dc, 1 dc, 2 dc, 1 dc, 1 dc, 2 dc… (48)
Round 5: ch3, 1 dc, 2 dc, 1 dc, 1 dc, 1 dc, 2 dc, 1 dc… (60)
Round 6: ch 3, 2 dc, 1 dc, 1 dc, 1 dc, 1 dc, 2 dc… (72)
Round 7: ch 3, 1 dc, 1 dc, 1 dc, 1 dc, 1 dc, 2 dc… (84)
Round 8: ch 3, 2 dc, 1 dc, 1 dc, 1 dc, 1 dc, 1 dc, 1 dc, 2 dc… (96)
Round 9 (optional): ch 3, 1 dc, 1 dc, 1 dc, 1 dc, 1 dc, 1 dc, 1 dc, 2 dc… (108)
TIP FOR CROCHETING IN ROUNDS
The best technique on how to achieve a perfectly round and flat circle is to place your increases (2 dc in one st, marked in red) not in the same positions as they were in the previous round. By doing this you avoid any weird corner formation and keep the edge nice and round.

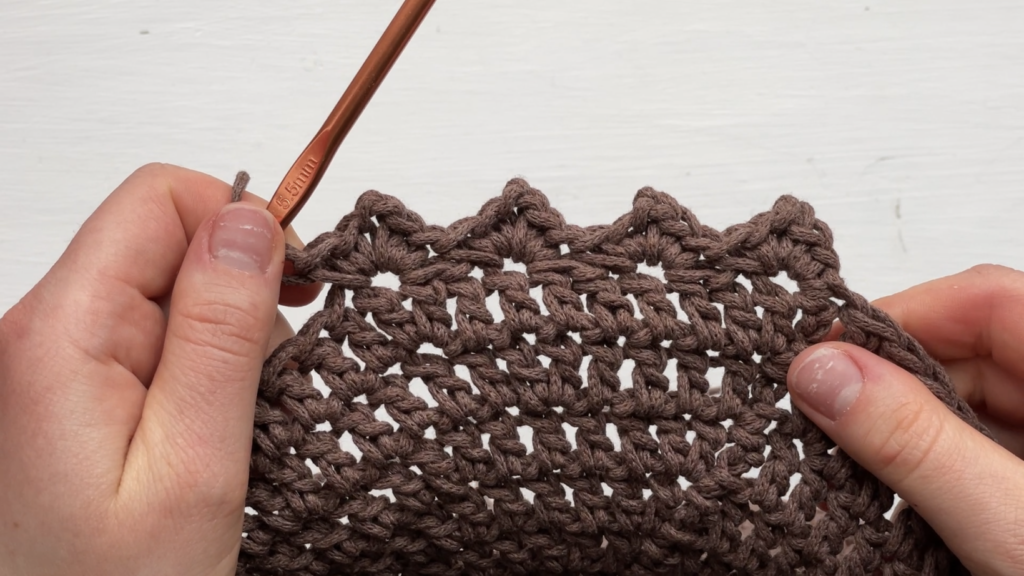
HOW TO DO THE EDGE
Round crochet placemats already project elegance, but adding an edge can elevate their appearance to the next level. While there are numerous edge options to choose from, the one you’ll learn here holds a special place in my heart.
Let’s start:
Begin with ch 1 and in the first stitch do 2 sc, ch 2, and again 2 sc in the same stitch. One spike of the edge is done. Skip 2 stitches, and in the 3rd repeat the same: 2 sc, ch 2, 2 sc in the same stitch. So continue like this until you reach the end, slip stitch in the first stitch to finish.
Finally, do not forget to secure your yarn end with a couple of knots and weave in all the ends. The flat and round placemat is done!
As well, here is the video tutorial on how to crochet it